How to Identify a Money Pit of a House

If you’re shopping for a new home (or thinking of putting your own on the market) you need to know what marks the difference between a fixer-upper and a complete disaster.
Read more →
Your cart is empty.
If you’re shopping for a new home (or thinking of putting your own on the market) you need to know what marks the difference between a fixer-upper and a complete disaster.

If you’re undergoing major home remodeling or building a new home, you’re going to need to be able to understand the blueprints presented to you by your architect or contractor.

Your refrigerator is one of the few items in your home that is running non-stop, day or night. When you think about the constant work your refrigerator is doing...
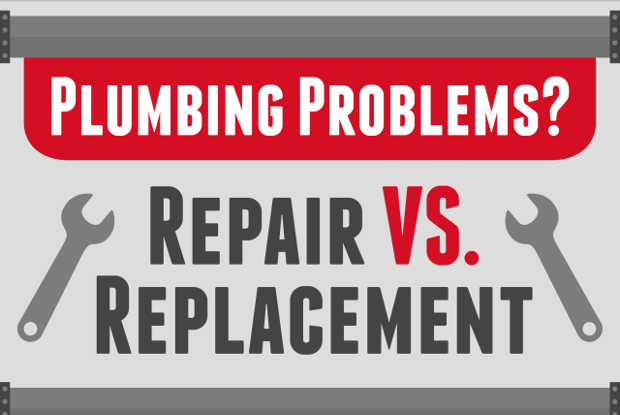
If you're facing plumbing problems, consider these 5 factors to help you decide whether to repair or replace...
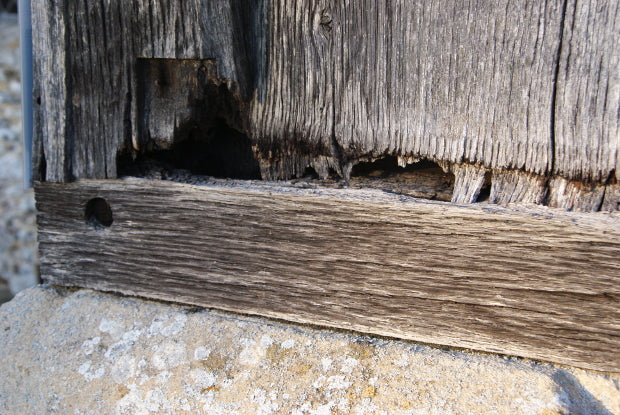
Given enough time and the right conditions, rot can completely destroy wooden building materials. Because of its tendency to spread, you should repair rotten wood ASAP when you discover it, and make sure you fix it completely.

A Smart Home Owneres Guide - Heating & AC, gutters, carpets, refridgerators, plumbing, pests, and more...